Create and share a Destination
Starting from a Template: Steps to Follow
1. Choose a template
Pick a template from the templates manager.
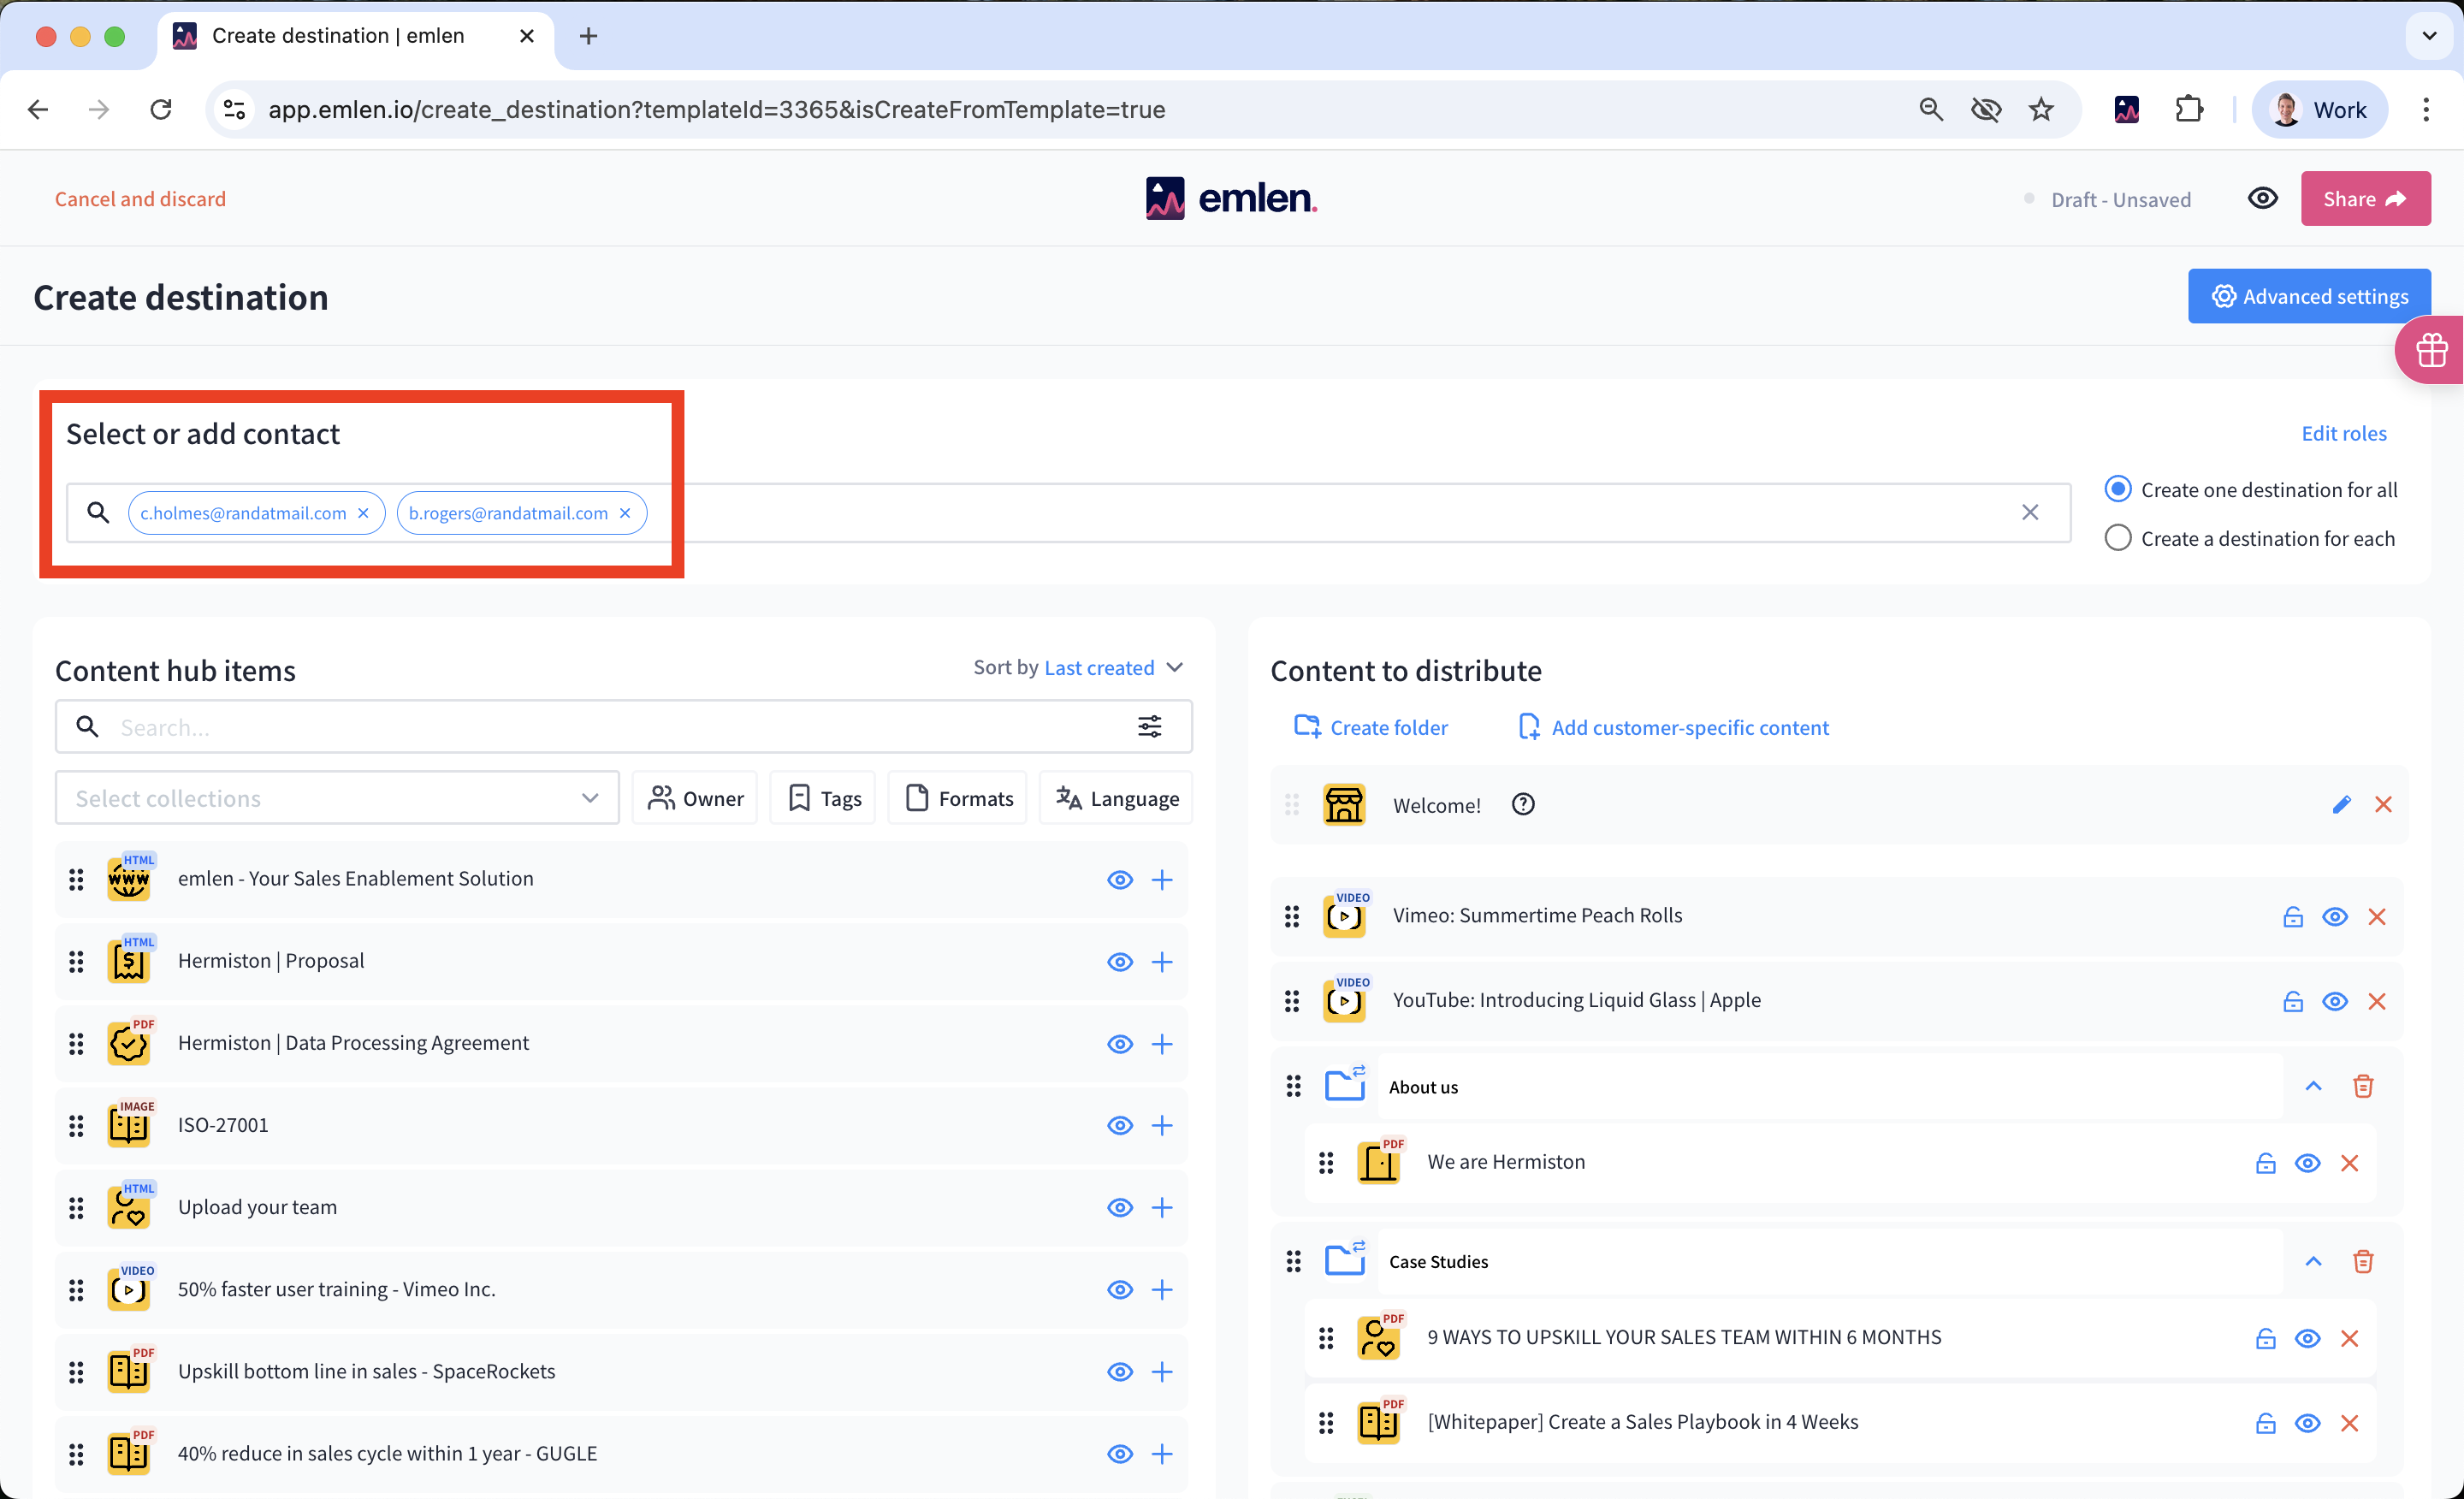
2. Select or add contacts (optional)
This step is optional but recommended. You can select existing contacts or add a new one by typing or pasting an email address. The new contact will be saved in the contact manager.
3. Check "Advanced settings" (if needed)
E.g. customize settings like the Mutual Action Plan.
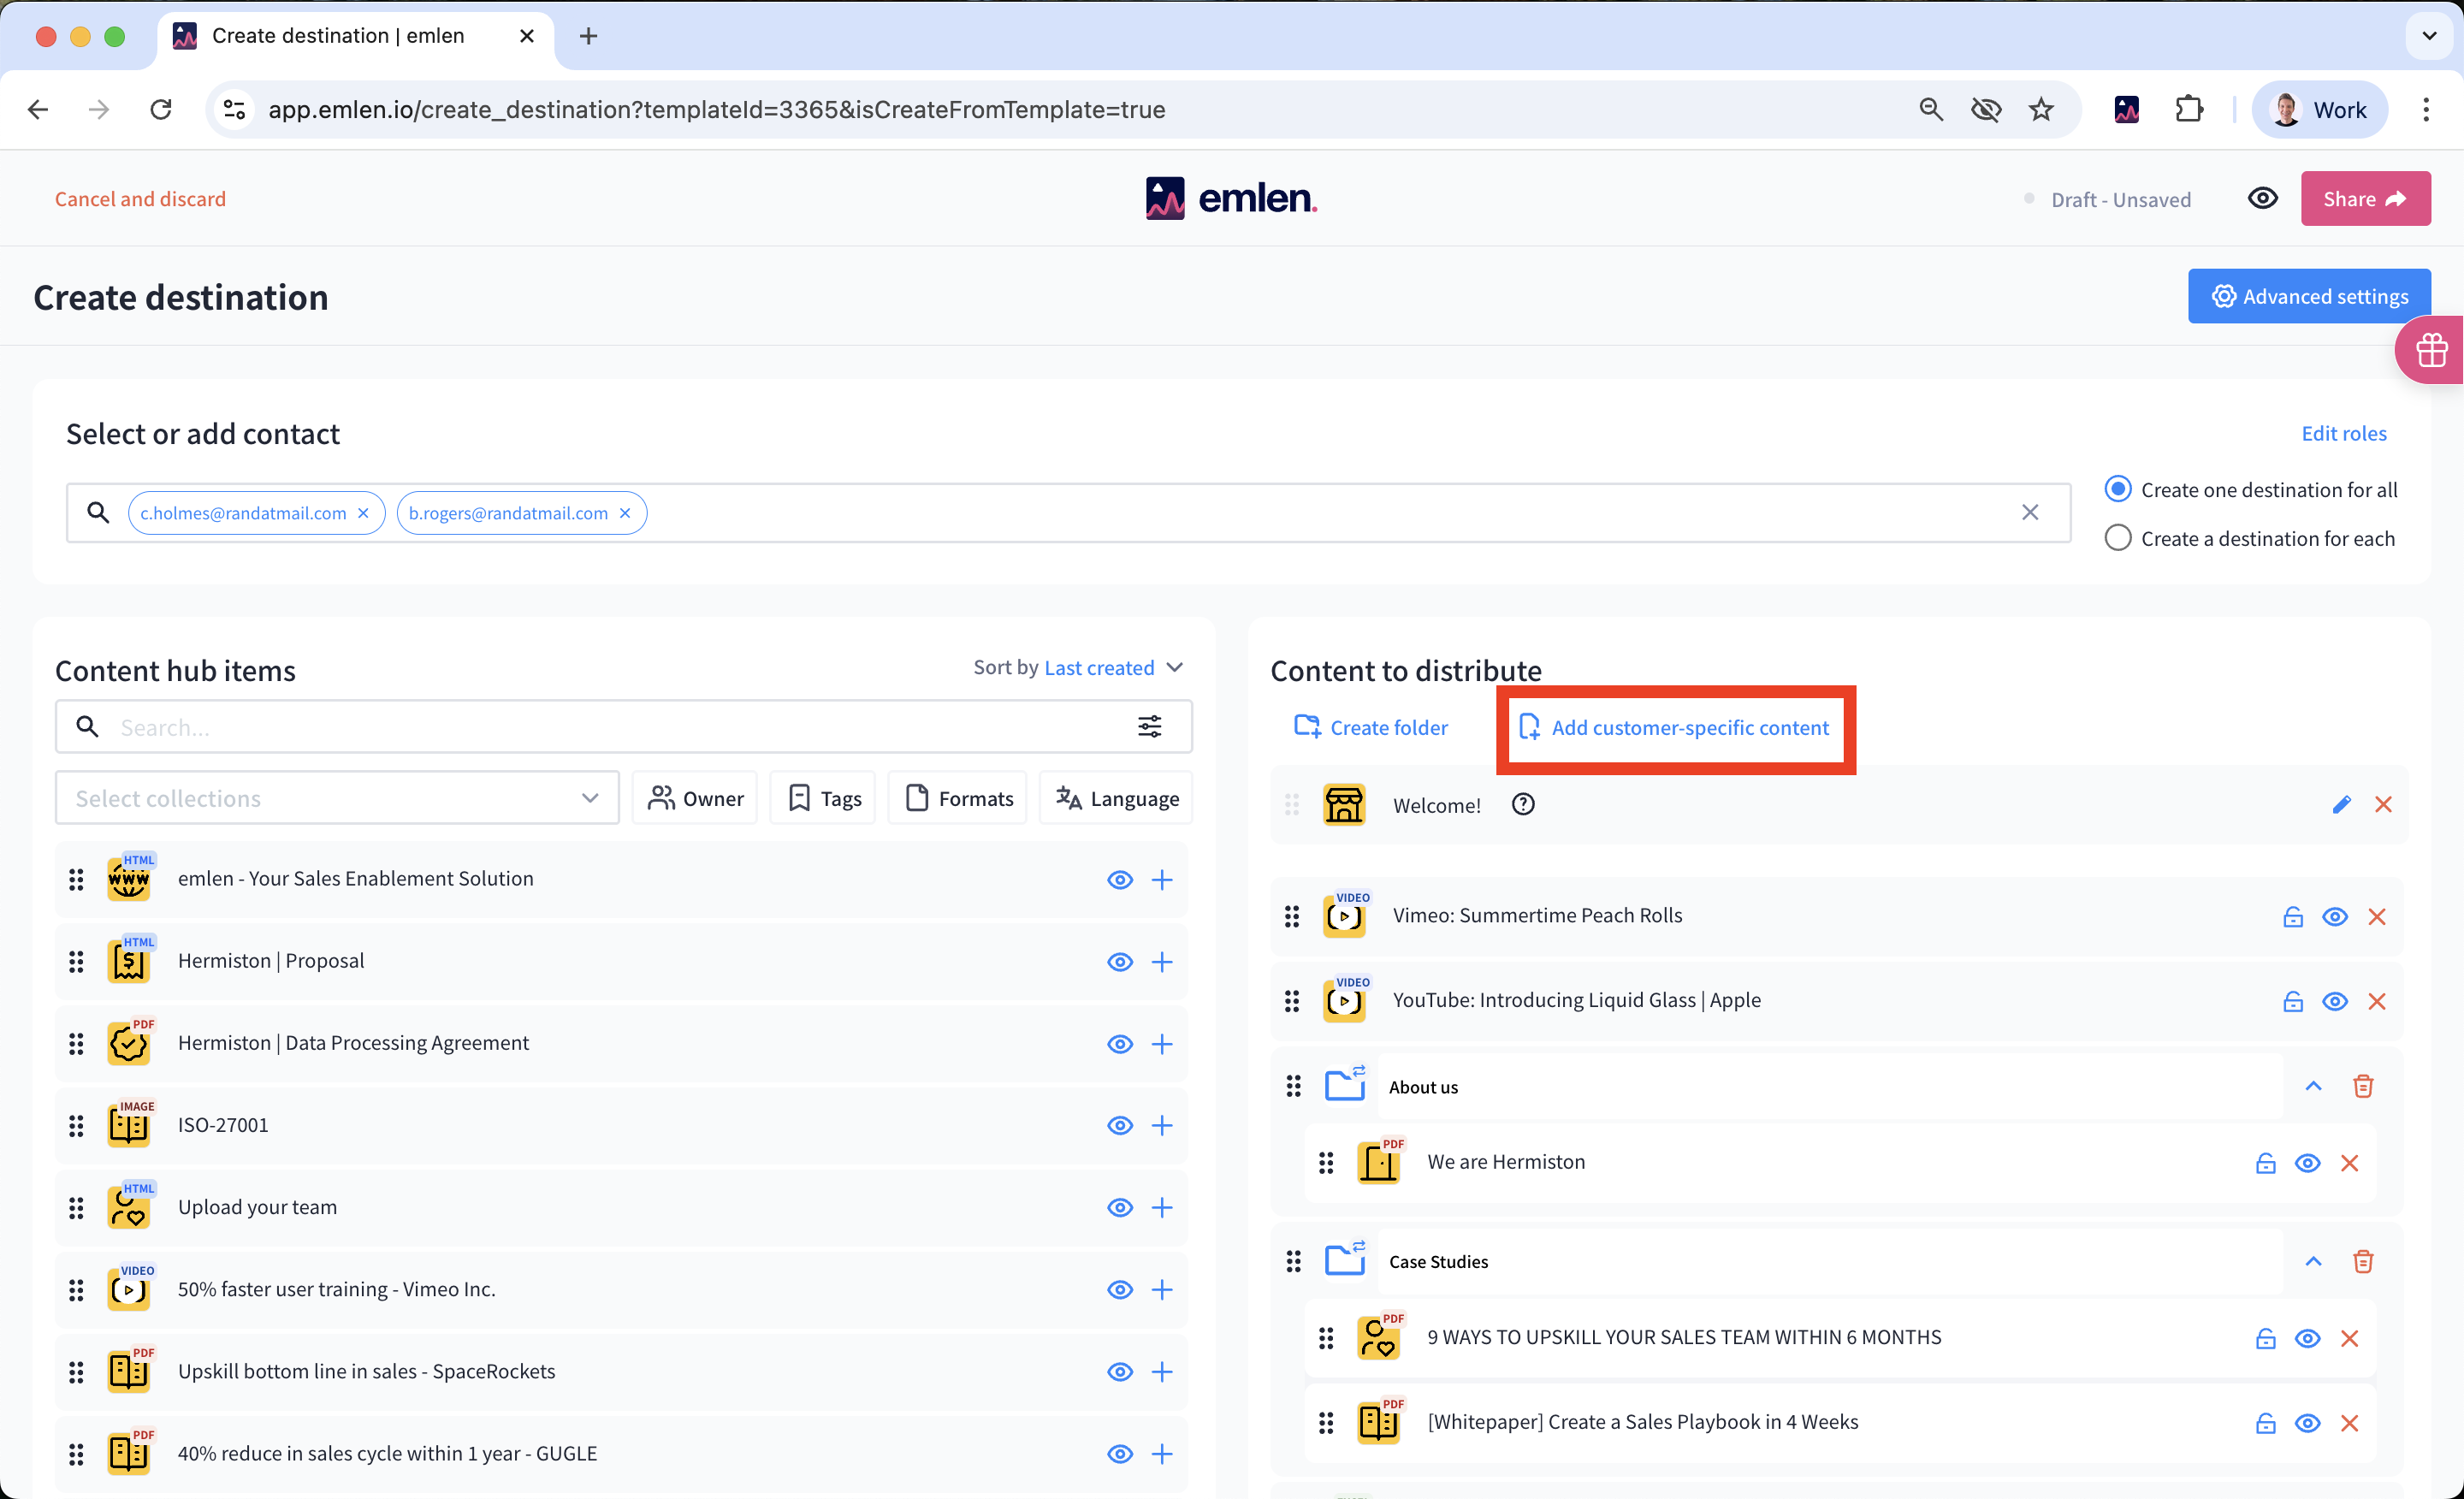
4. Add customer-specific content (if desired)
Include content unique to this customer or deal, such as:
- A personalized presentation
- A greeting video
- A quote or offer
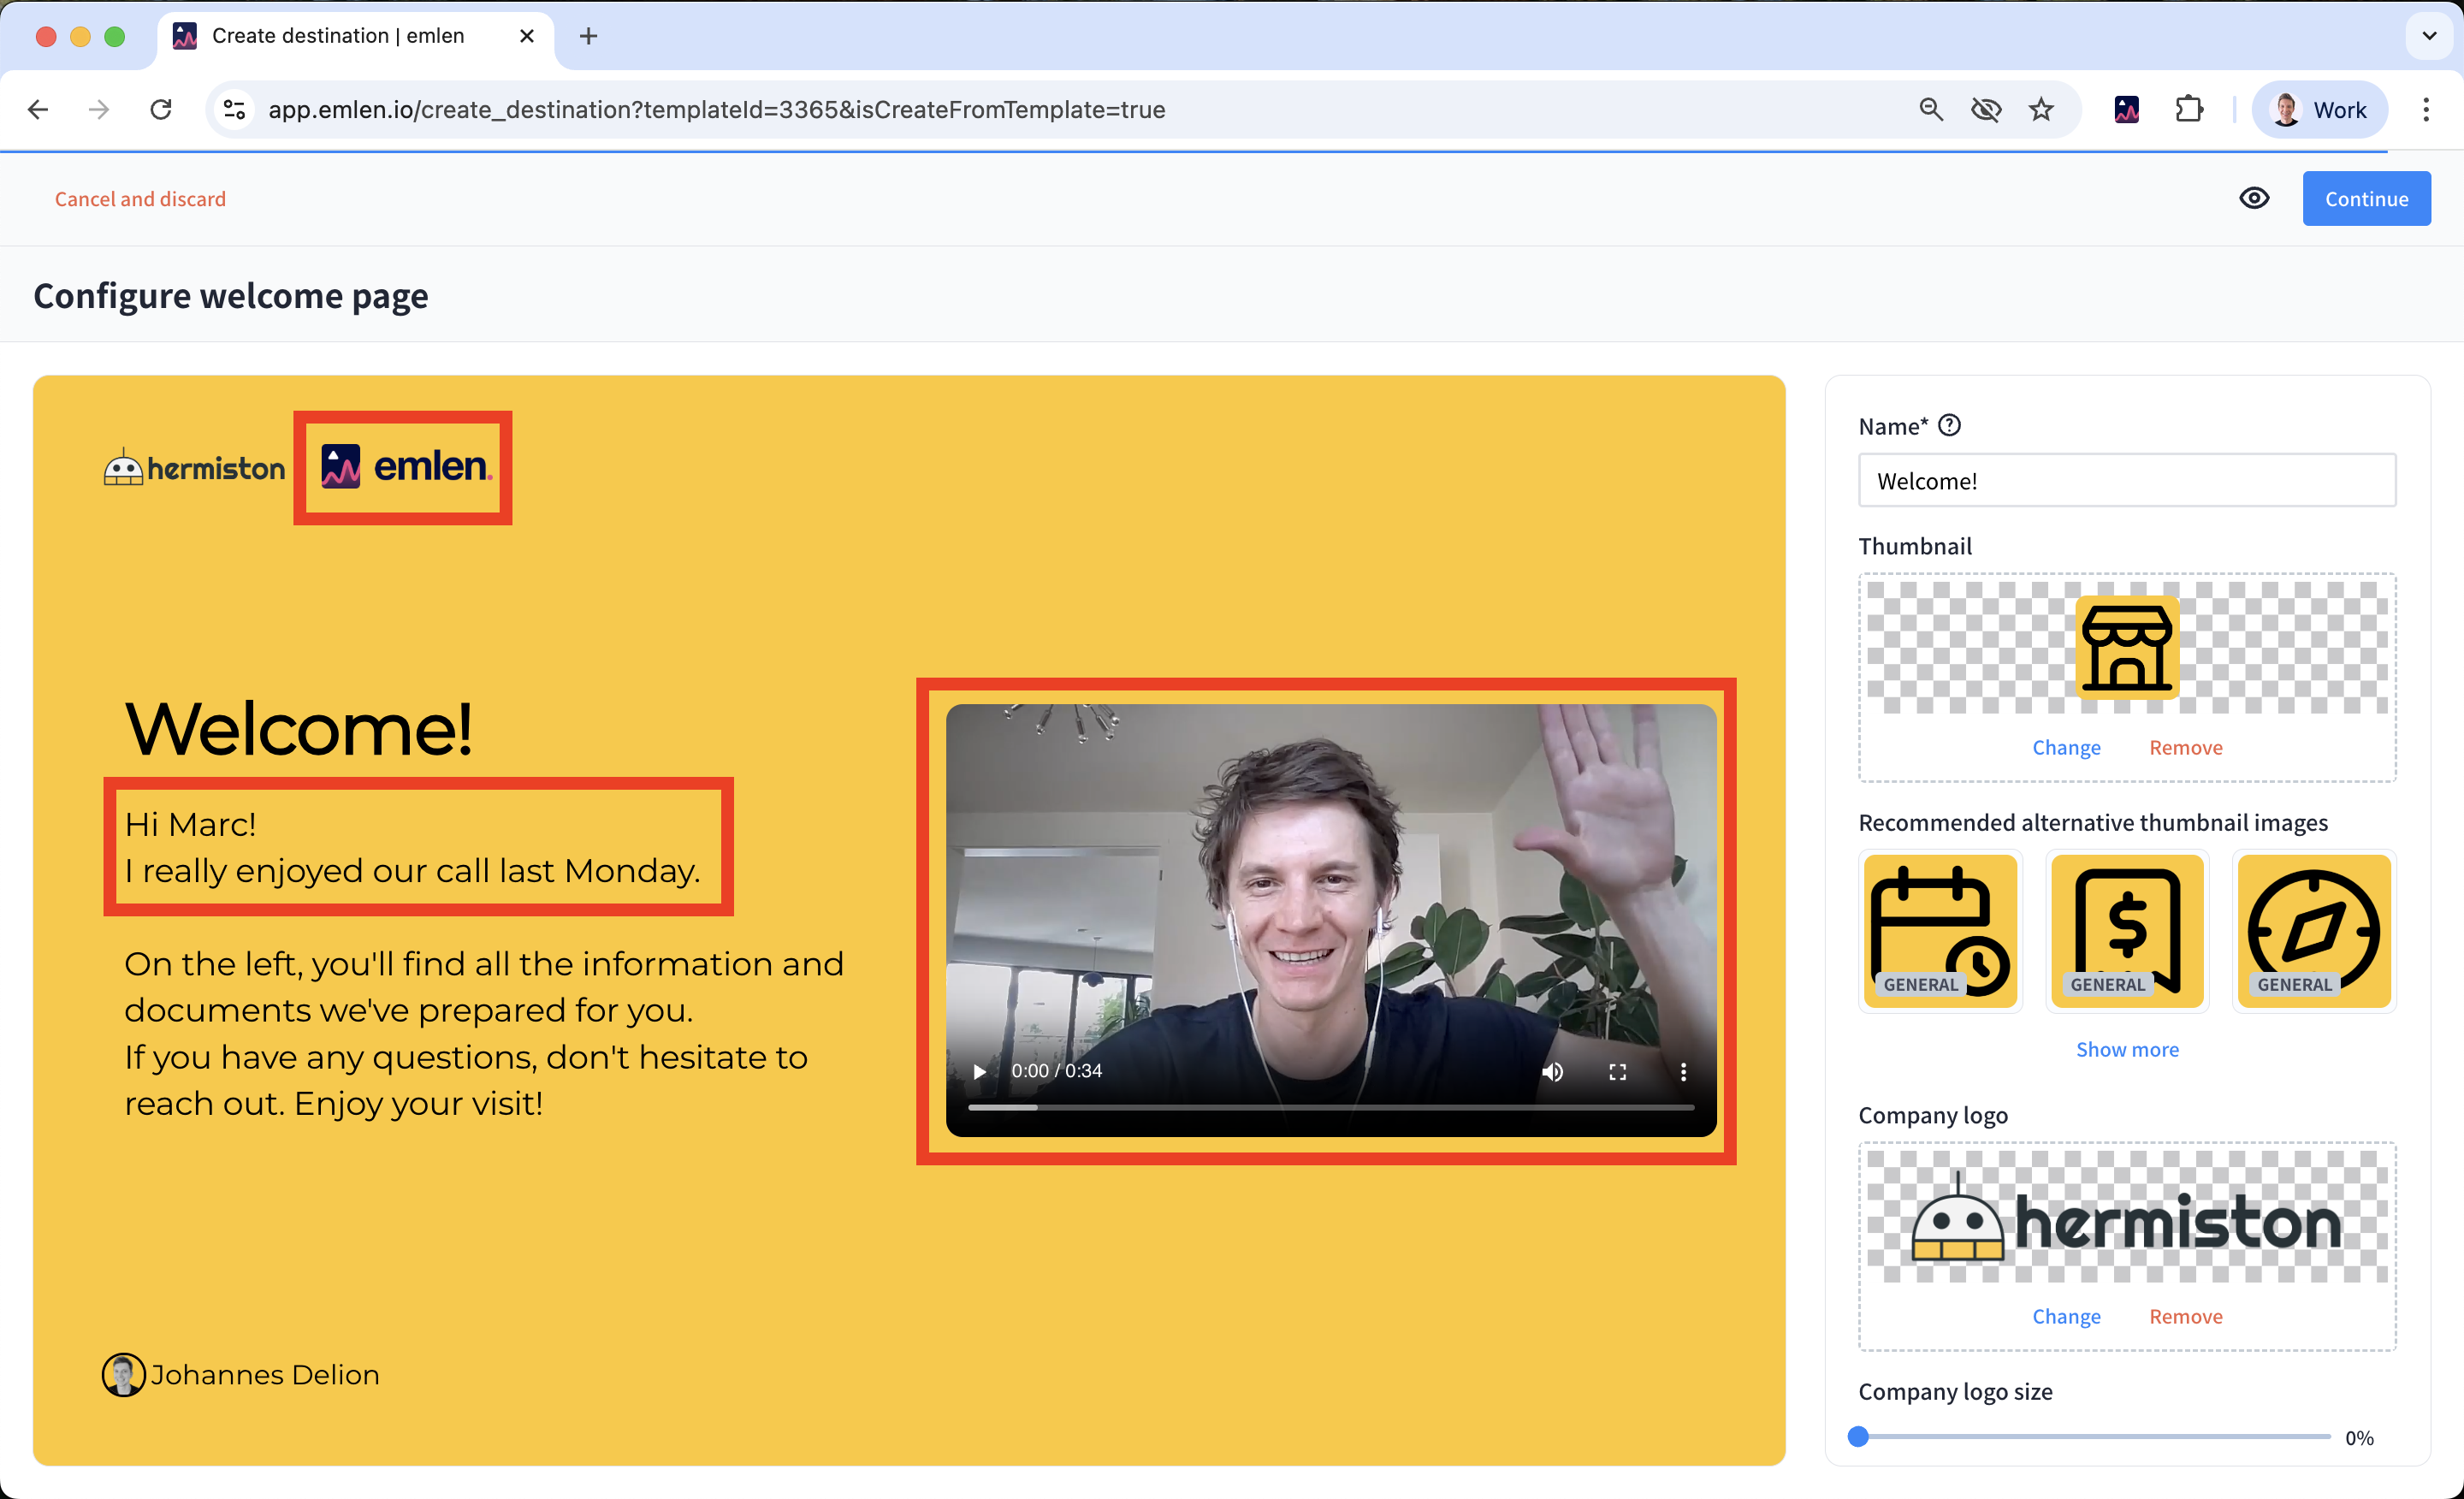
5. Personalize the welcome page (as desired)
Customize names, text, logo, and videos.
6. Review content (if needed)
Adjust the order of content or add additional content as needed.
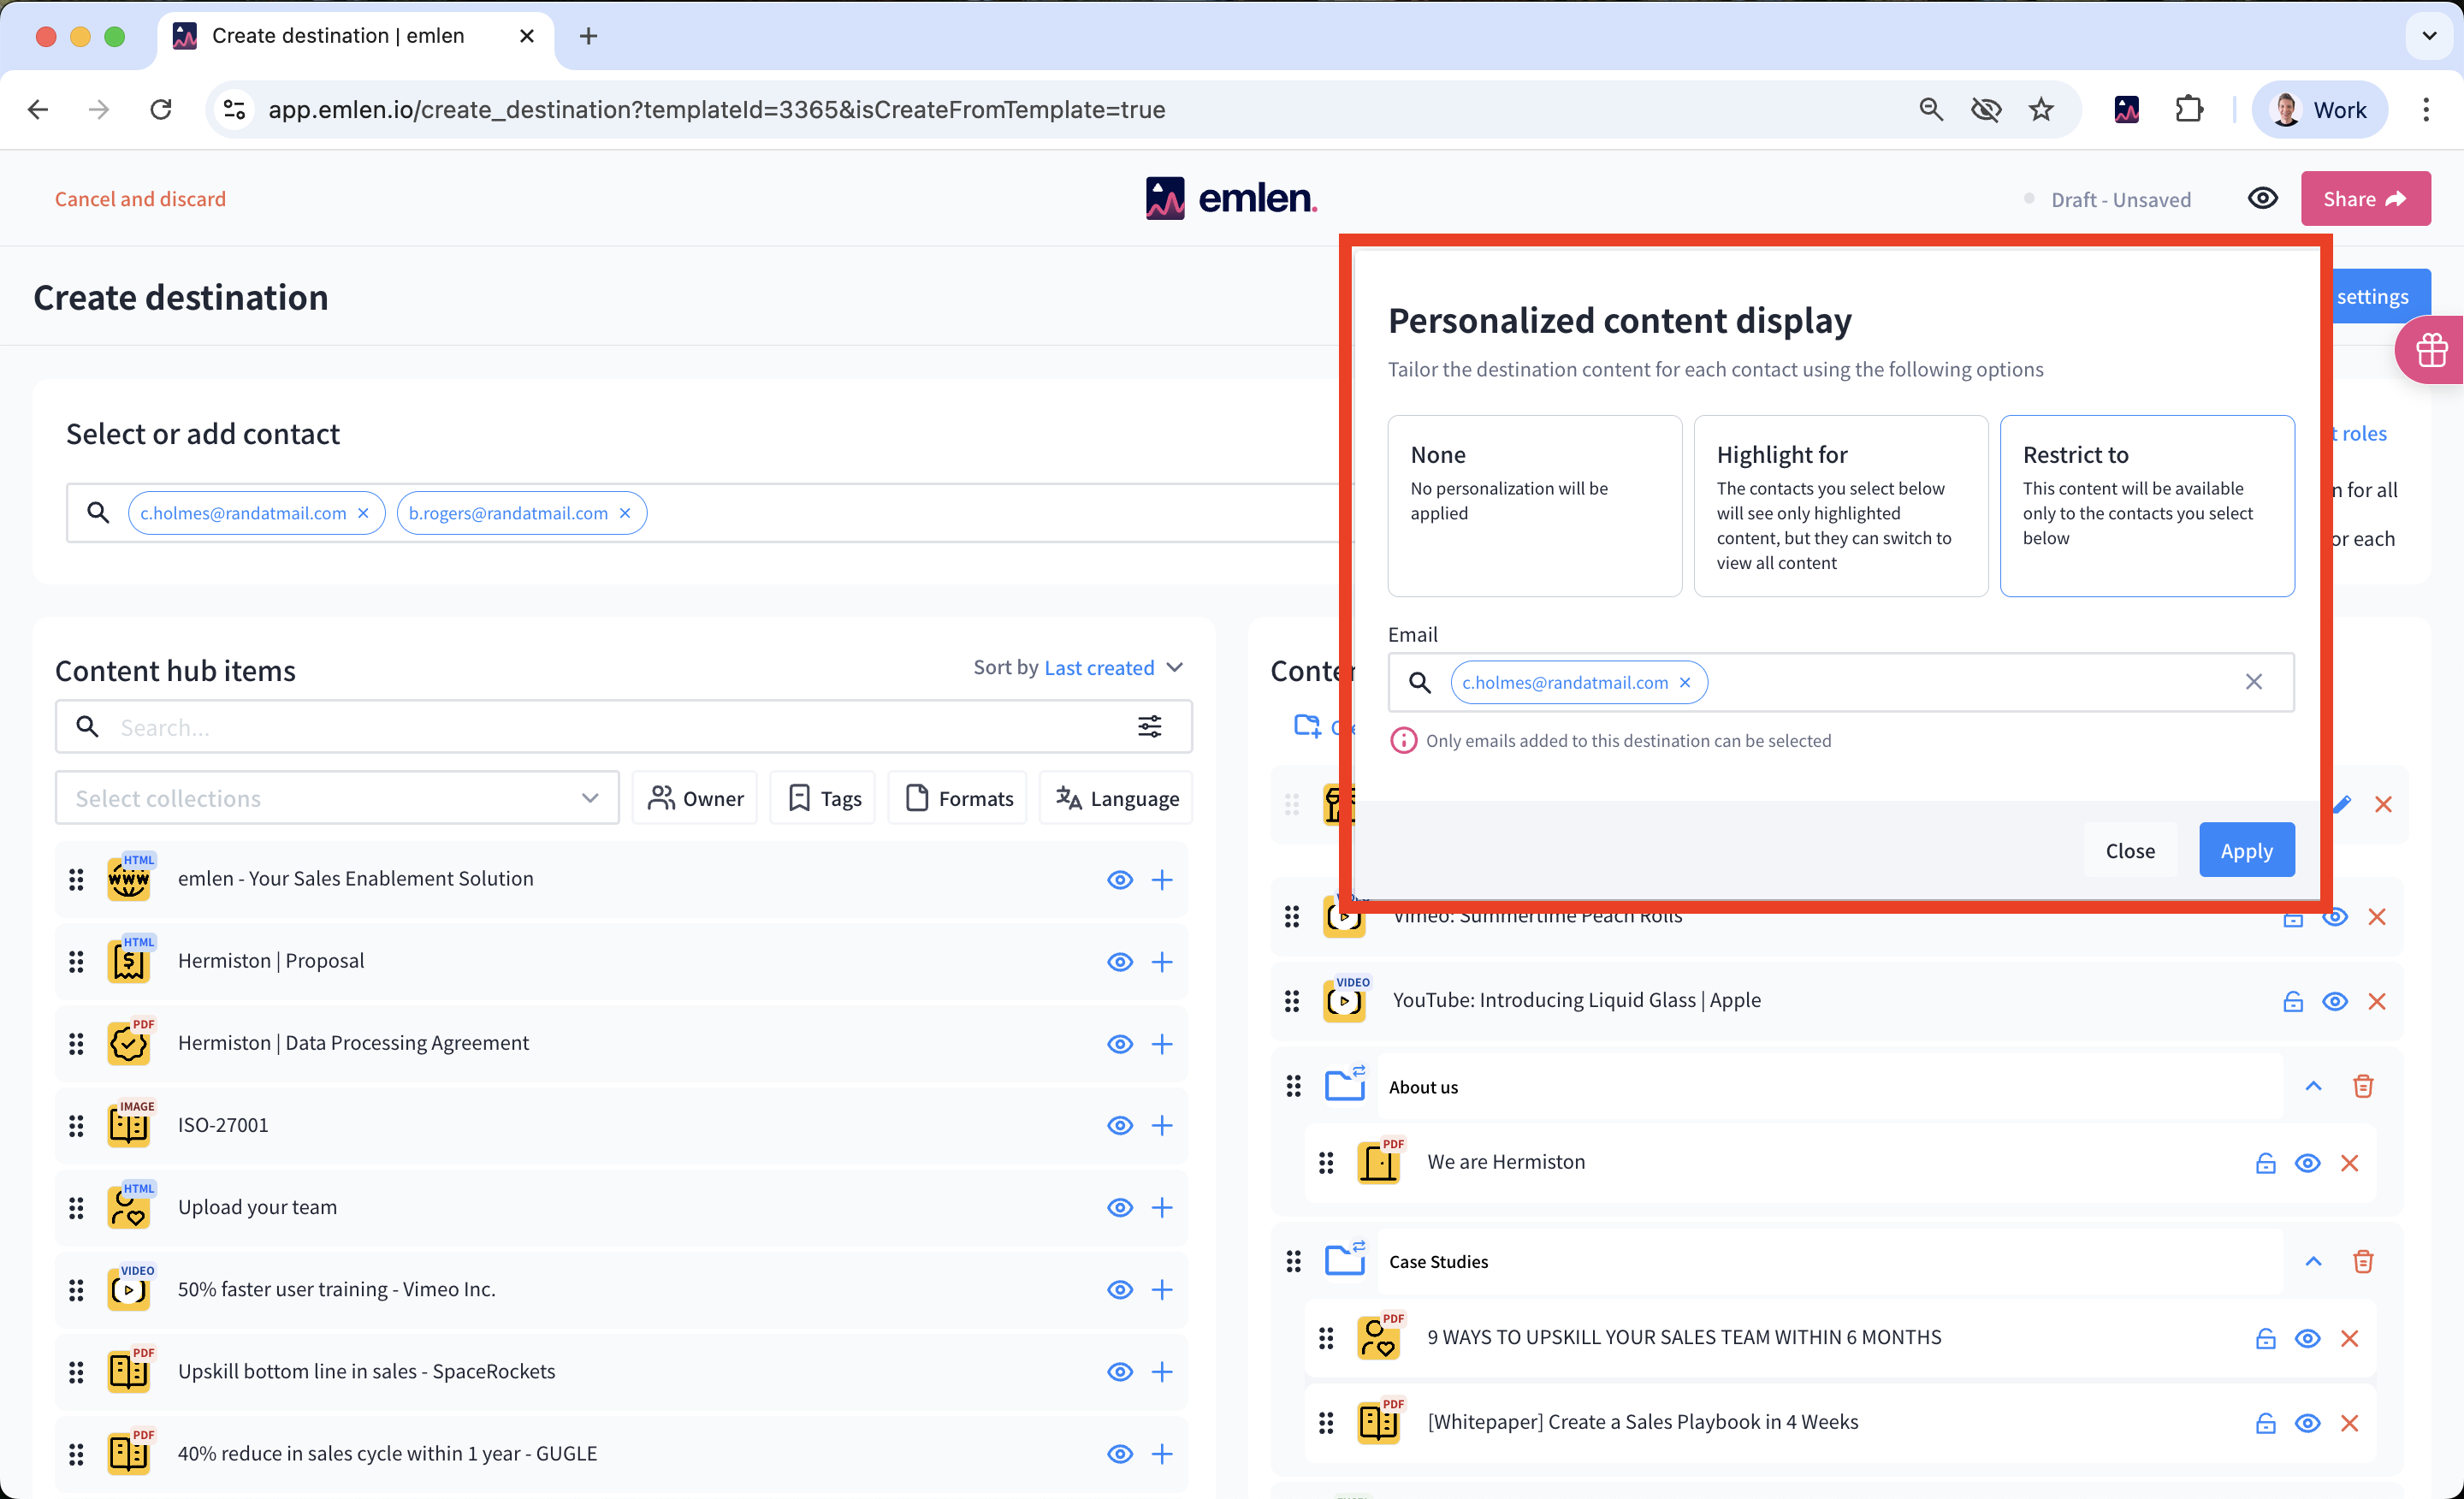
7. Personalize content display (if desired)
You have the option to highlight or restrict content for specific contacts. Use “highlight” to direct a contact’s attention to particular content items while still allowing them to view all available content. Opt for “restrict” when you want a content item to be visible only to selected contacts (for instance, a commercial quote intended solely for the decision maker and procurement).
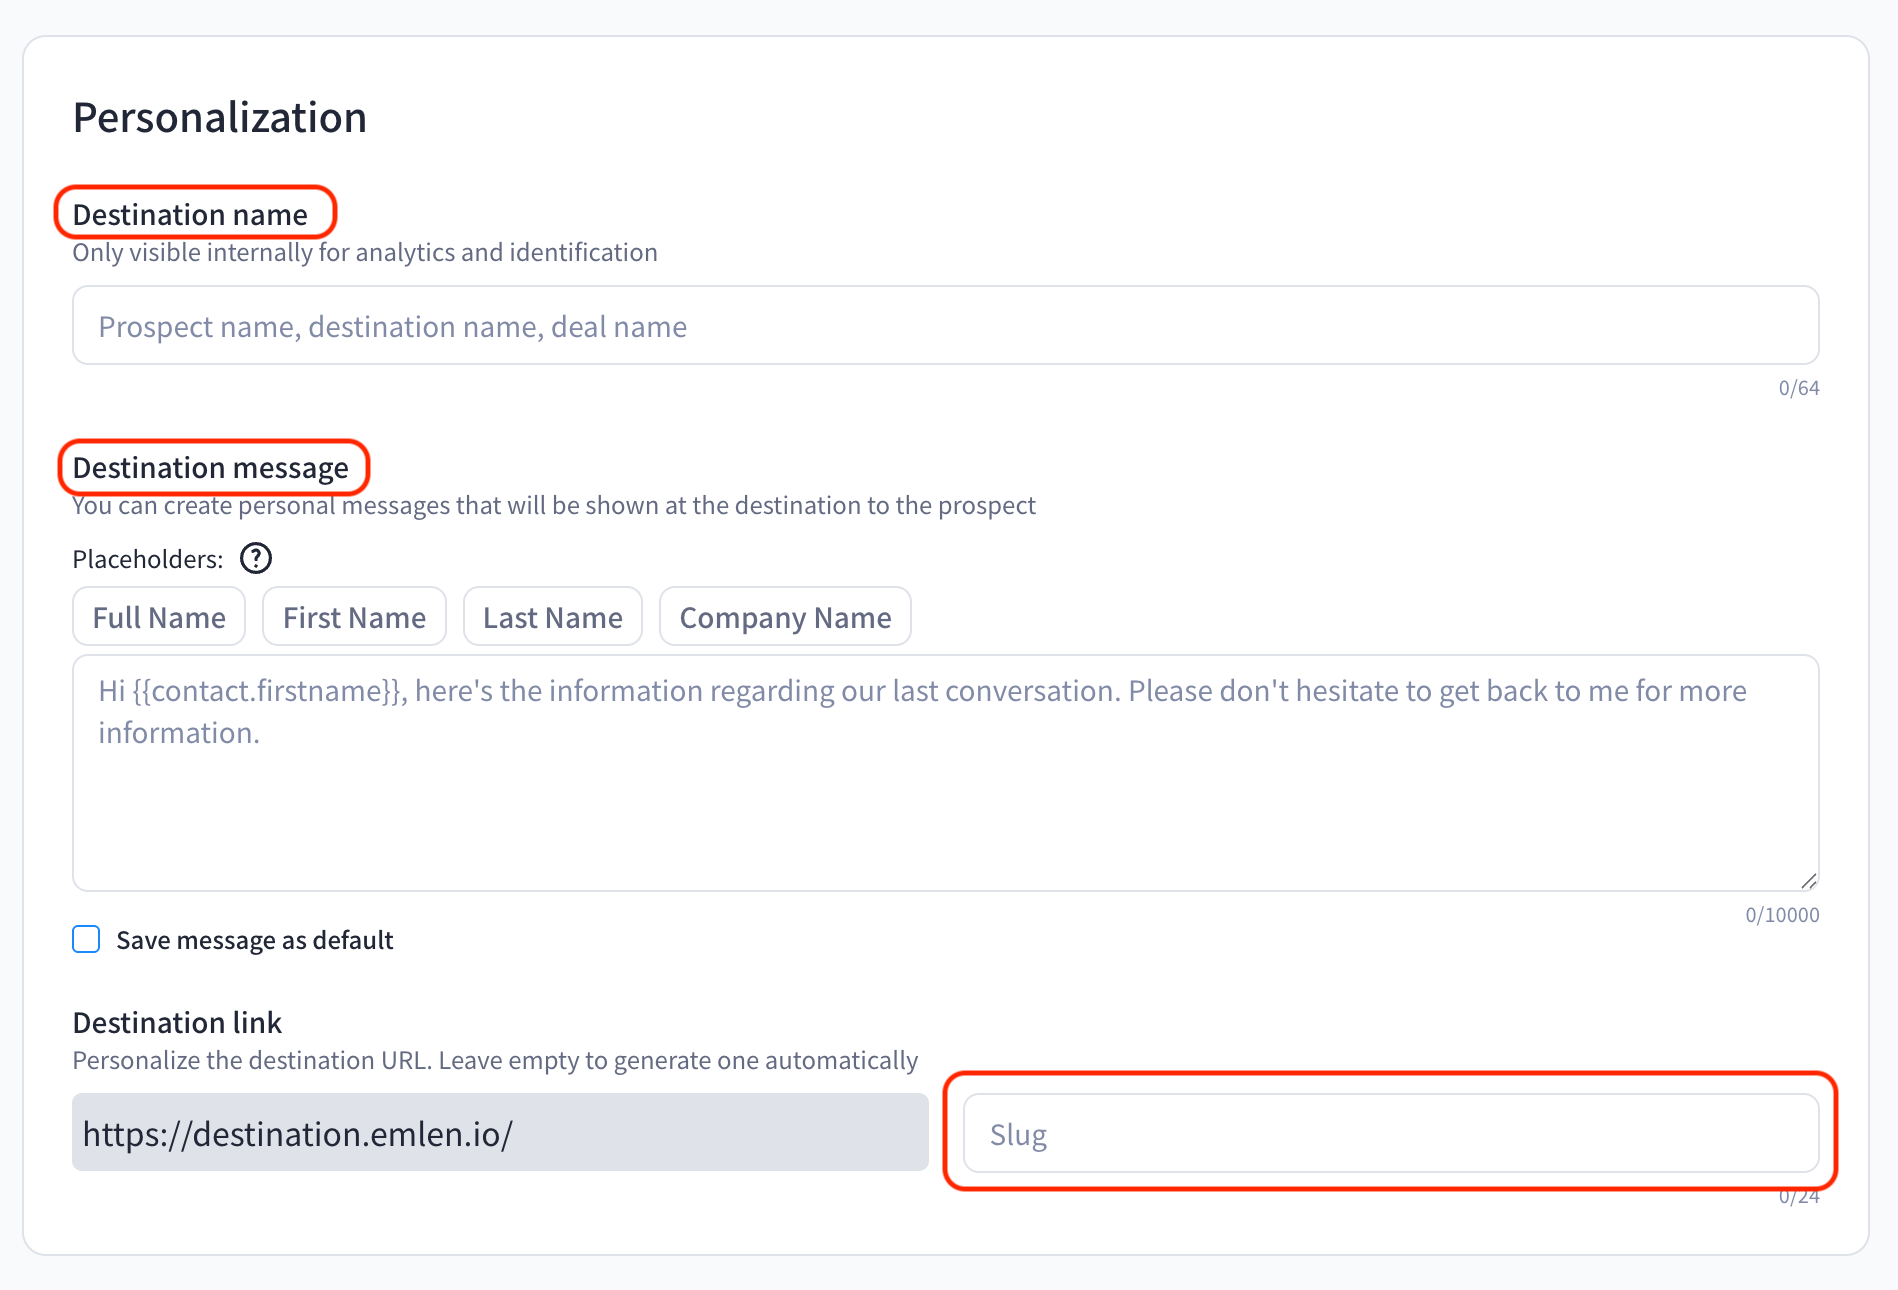
8. Customize name, message and link of your destination
If only one contact is selected, a Destination name is generated automatically. Otherwise, enter a name to find it easily. You can also type in a personal message that appears inside your destination. And you can define a custom URL, where you can enter for example the name of your customer which is then added to the URL. If no custom slug is entered, emlen will create an ID that leads to the right destination.
Custom slugs should not be changed after the initial creation of the destination as the url changes and the old url is not valid anymore.
9. Preview the Destination
Click the eye symbol in the top right corner.
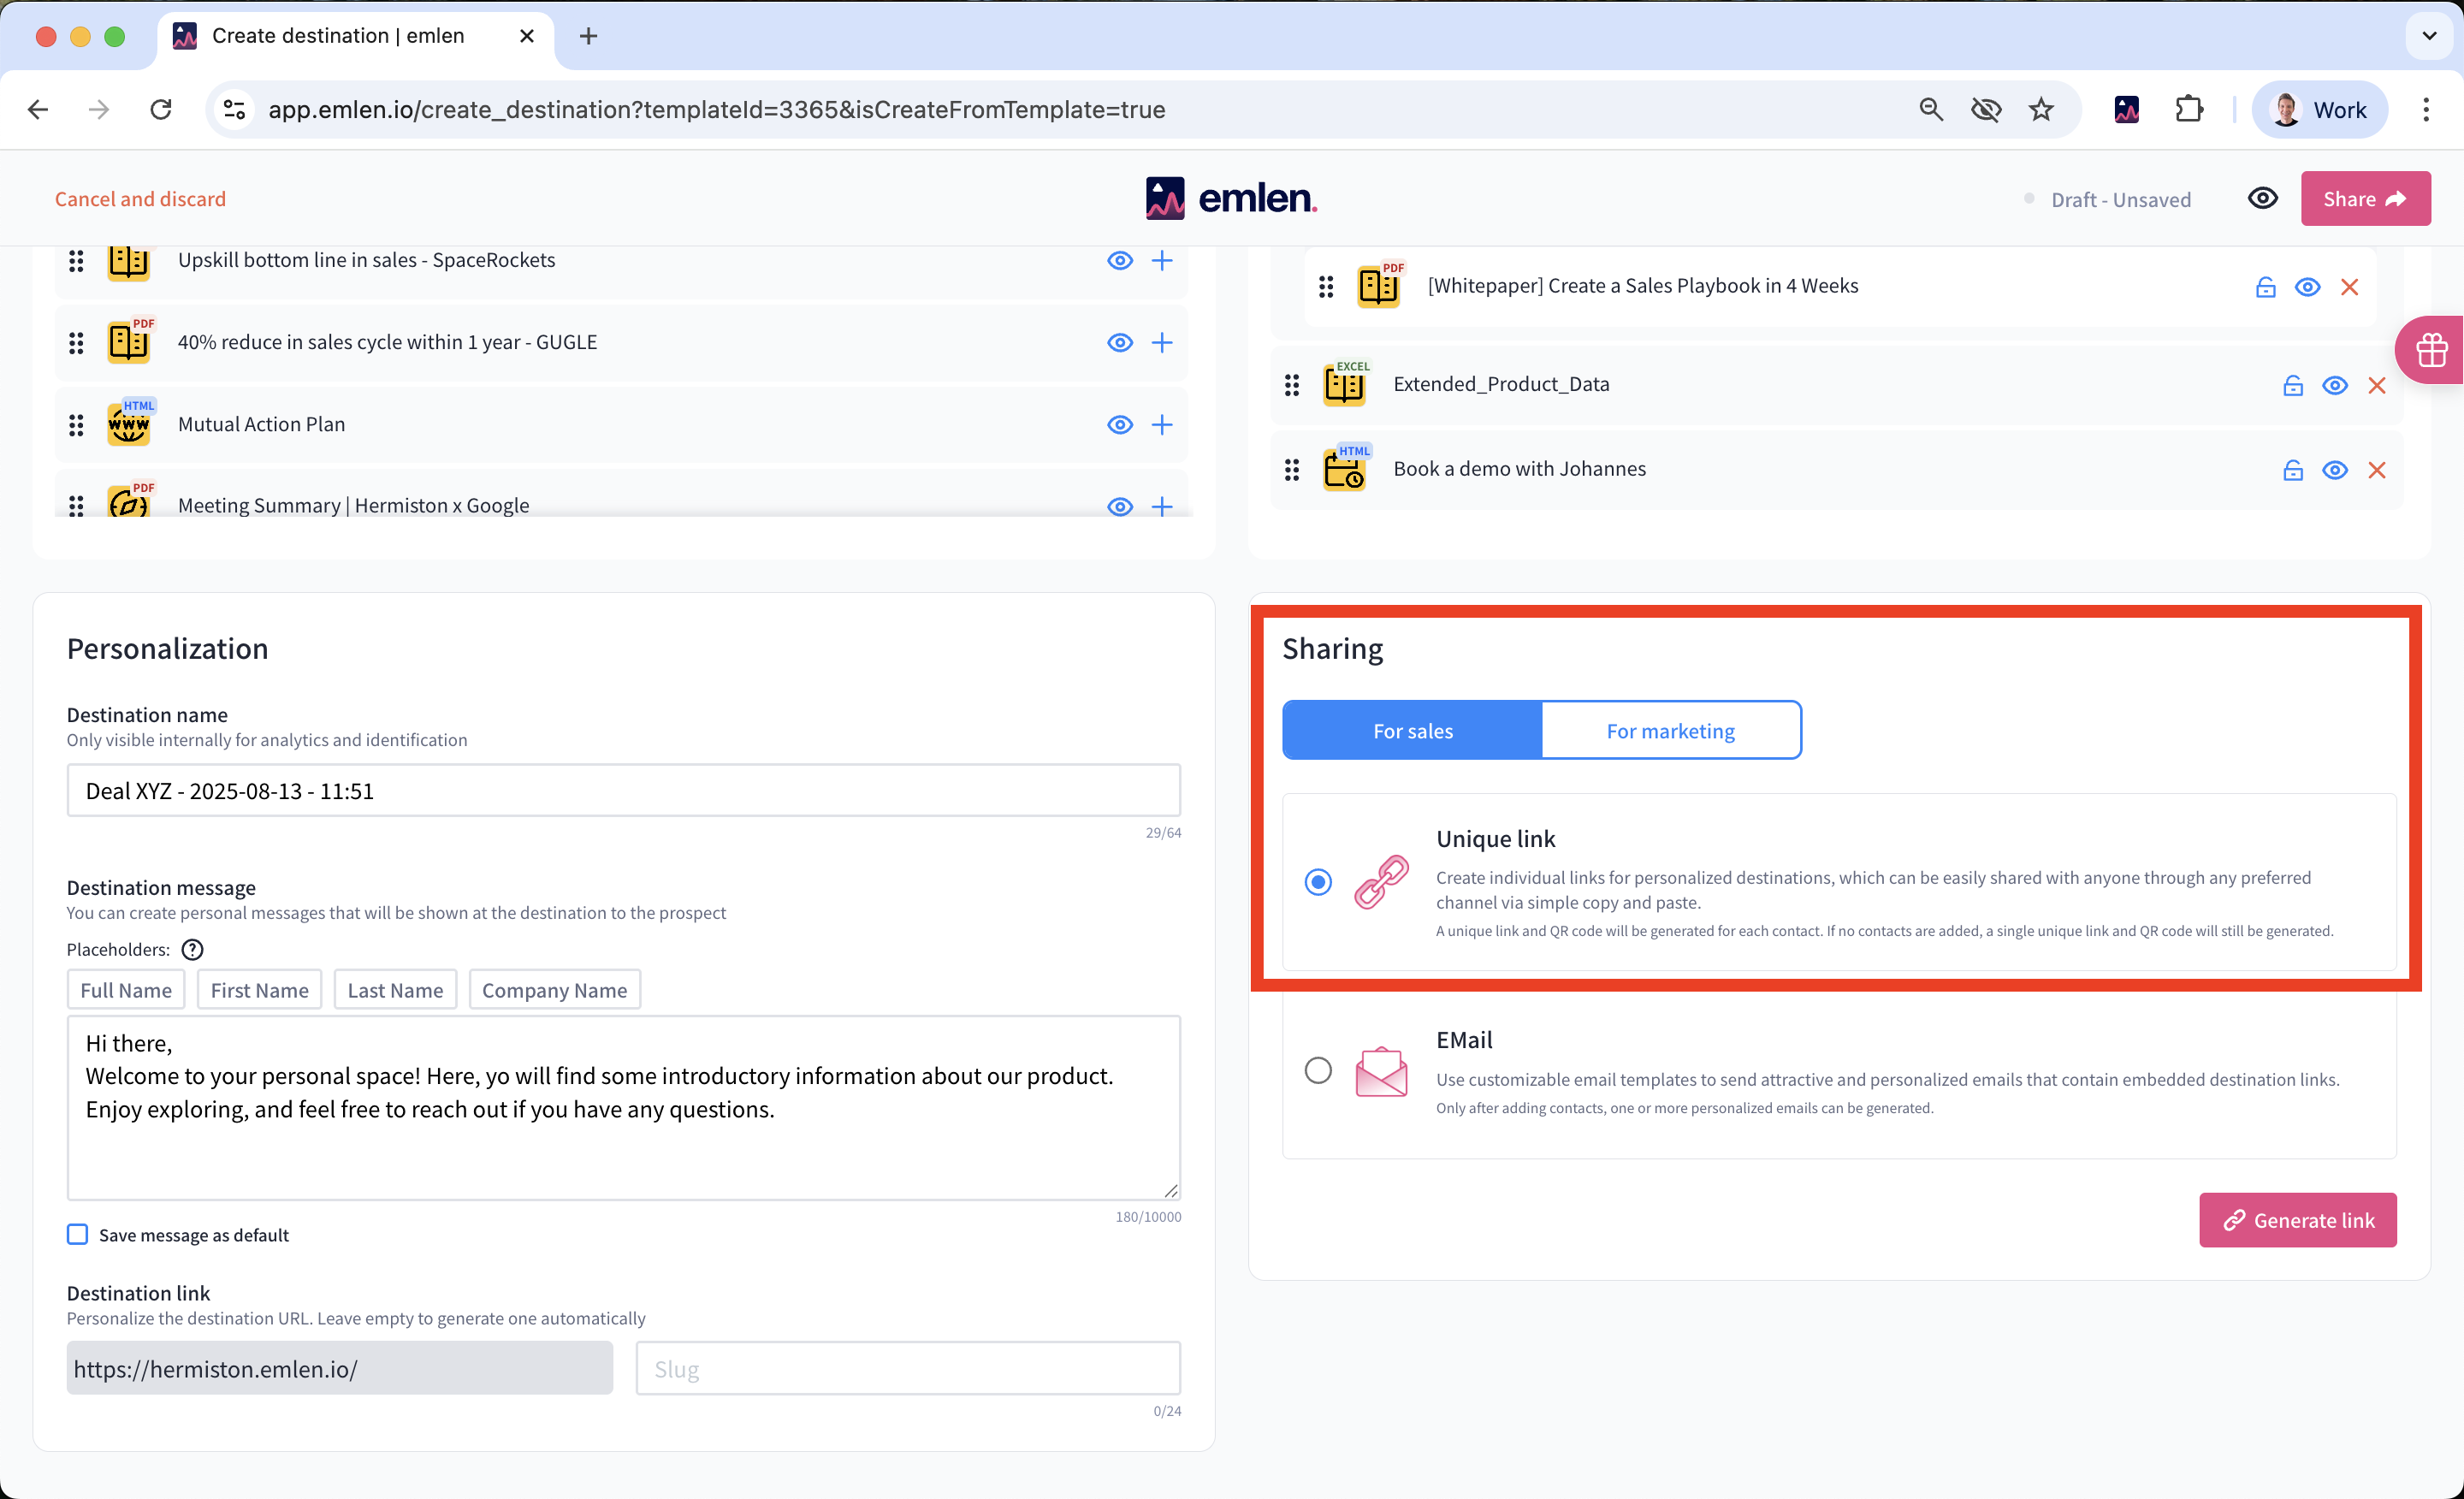
10. Generate a "Unique Link"
Select “Unique link” as the sharing option and click “Generate link.” This is typically the best choice. Then, copy the link and paste it into your preferred channel, such as email or a LinkedIn message.